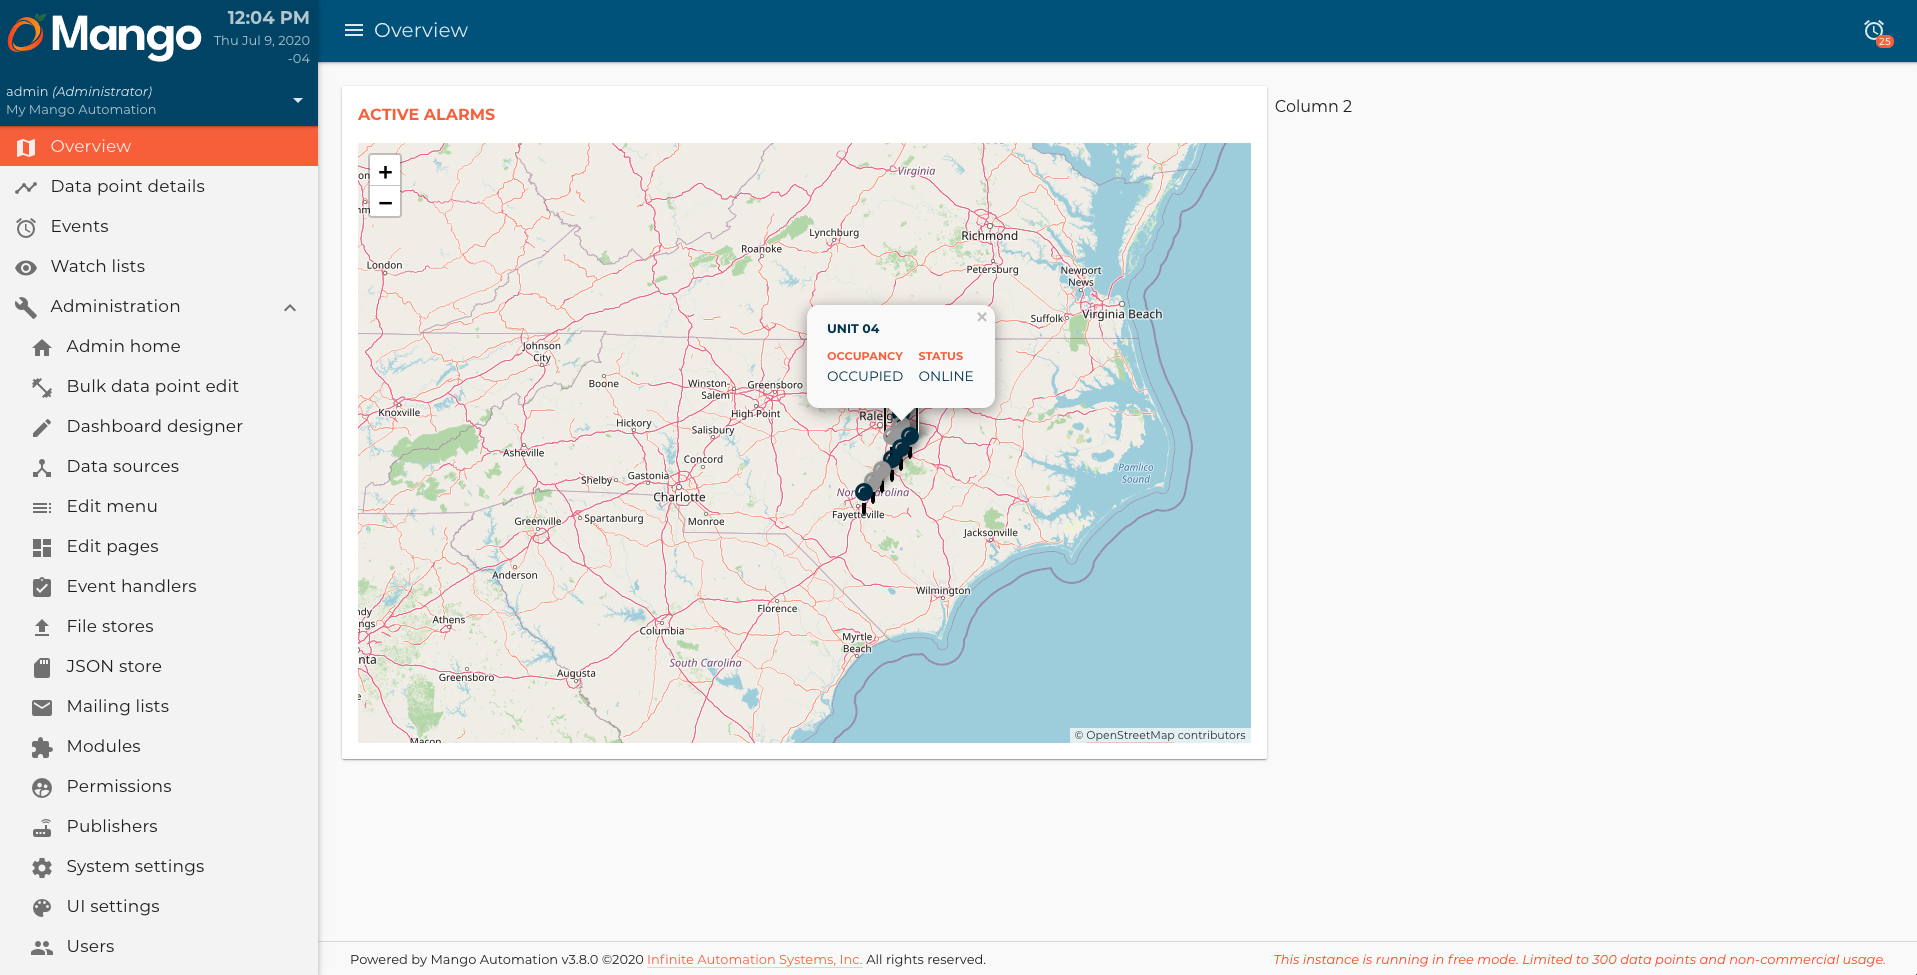
In this article, we are going to build a map component which receives the HVAC units with its data points, and show this data in the map. At the end of this article, you will have something like this:

This is the 3rd article of a Dashboard development series. You can check all the articles by clicking here
Let's start by creating the map.js and map.html files in a components/map directory.
map.js
/**
 * @copyright 2020 {@link http://infiniteautomation.com|Infinite Automation Systems, Inc.} All rights reserved.
 * @author Luis Güette
 */
define(['angular', 'require'], (angular, require) => {
'use strict';
const DEFAULT_CENTER = {
    lat: 35.618379,
    lon: -78.413052
}

const DEFAULT_ZOOM = 7

class MapController {
    static get $$ngIsClass() {
        return true;
    }

    static get $inject() {
        return [];
    }

    constructor() {

    }

    $onInit() {
        if (!this.center) {
            this.center = DEFAULT_CENTER;
        }

        if (!this.zoom) {
            this.zoom = DEFAULT_ZOOM;
        }
    }
}

return {
    bindings: {
        center: '<?',
        zoom: '<?',
        options: '<?',
    },
    controller: MapController,
    templateUrl: require.toUrl('./map.html')
};

});
map.html
<ma-tile-map center="$ctrl.center"
             zoom="$ctrl.zoom || 7"
             options="$ctrl.options"
             on-move="$ctrl.center = $center; $ctrl.zoom = $zoom"
></ma-tile-map>
We define 3 bindings for now, to control the map center, zoom, and options. Also, we define a DEFAULT_CENTER in case that the center is not provided.
In the HTML, we use the ma-tile-map component to show the map with a basic configuration. Yo can find more information about this component in the API docs section in the sidebar menu, at the bottom.
Note: Remember that you need to enable API docs in Edit Menu section, to see the menu item.
We need to update the hvac.js module file to add the map component:
/**
 * @copyright 2020 {@link http://infiniteautomation.com|Infinite Automation Systems, Inc.} All rights reserved.
 * @author Luis Güette
 */
define([
'angular',
'require',
'./pages/overview/overview.js',

'./components/map/map.js'

], (
angular,
require,
overview,
map
) => {
'use strict';
const hvacModule = angular
    .module('hvacModule', ['maUiApp'])
    .component('hvacOverview', overview)
    .component('hvacMap', map);

hvacModule.config([
    'maUiMenuProvider',
    (maUiMenuProvider) => {
        maUiMenuProvider.registerMenuItems([
            {
                name: 'ui.overview',
                url: '/overview',
                menuIcon: 'map',
                template: '<hvac-overview></hvac-overview>',
                menuText: 'Overview',
                weight: 100
            },
        ]);
    }
]);

return hvacModule;

}); // define
And now, we can use it in the overview component like this:
overview.html
<div layout="row" layout-wrap layout-align="space-between start">
<div flex="100" flex-gt-sm="50" flex-gt-md="60">
<md-card>
<md-card-header>
Active Alarms
</md-card-header>
<md-card-content>
<hvac-map></hvac-map>
</md-card-content>
</md-card>
</div>
<div flex="100" flex-gt-sm="50" flex-gt-md="40">
<p>Column 2</p>
</div>
</div>
In the first column, we added a Card with a header, and in the body, we added our hvac-map component. For more information about md-card, check here.
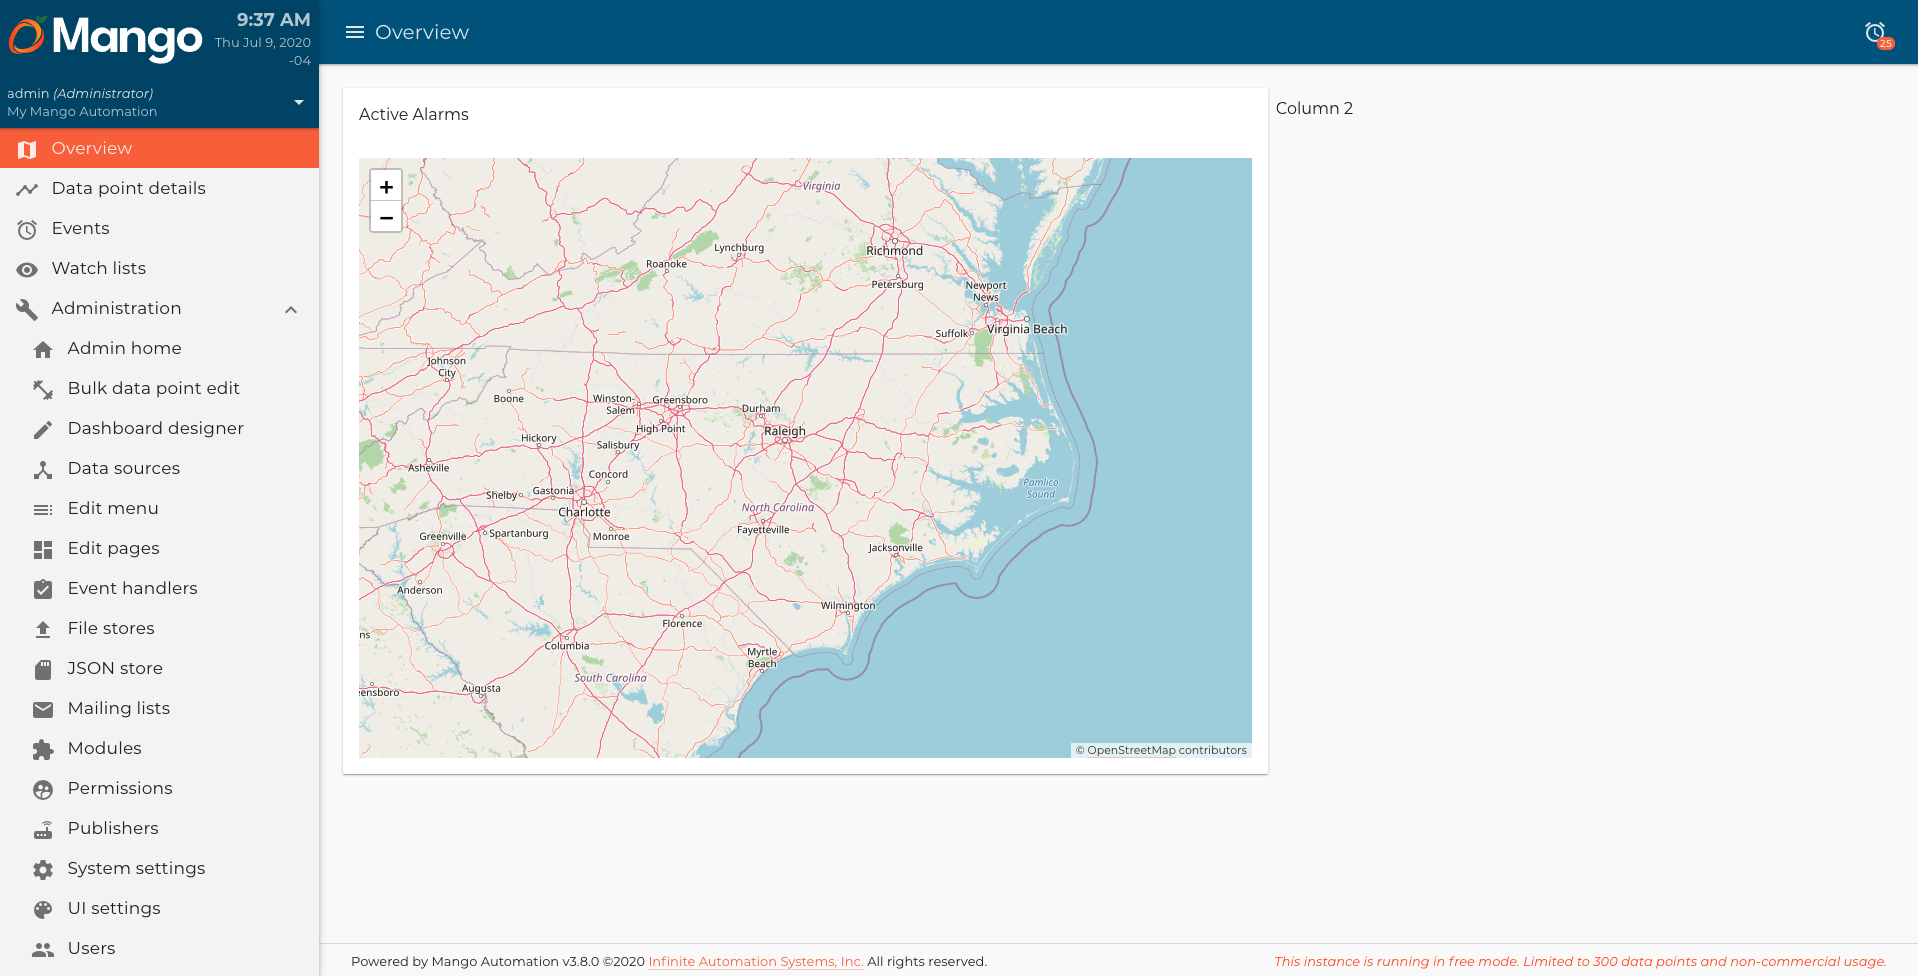
If you reload the Overview page, you will see something like this:

Let's get the units data from the JSON store. We are going to create a AngularJS service called for this. In a services directory, create a unit.js file:
unit.js
/**
 * @copyright 2020 {@link http://infiniteautomation.com|Infinite Automation Systems, Inc.} All rights reserved.
 * @author Luis Güette
 */
define(['angular', 'require'], (angular, require) => {
'use strict';
unitFactory.$inject = ['maJsonStore', 'maUtil'];

function unitFactory(maJsonStore) {

    const defaultProperties = {
        name: '',
        lat: '',
        lon: ''
    };

    const unitsStore = new maJsonStore({
        xid: 'Units'
    });

    class Unit {

        constructor(options) {
            Object.assign(this, angular.copy(defaultProperties), options);
        }

        // lists all the objects contained in the store
        static list() {
            return unitsStore.get().then((store) => {
                const items = store.jsonData;
                return Object.values(items).map((item) => new this(item));
            });
        }

    }

    return Unit;

}

return unitFactory;

}); // define
- The
defaultPropertiesdefines the default attributes for each unit (Useful when you want to create a new unit and save it in the JSON store). - In
unitsStore, we define the JSON store item with thexidthat we previously defined in the JSON store. - The
list()method helps us to get the data from the JSON store and map the values to an array of units.
Now, we import the service in the hvac.js module:
hvac.js
/**
 * @copyright 2020 {@link http://infiniteautomation.com|Infinite Automation Systems, Inc.} All rights reserved.
 * @author Luis Güette
 */
define([
'angular',
'require',
'./pages/overview/overview.js',

'./components/map/map.js',

'./services/unit.js'

], (
angular,
require,
overview,
map,
unitService
) => {
'use strict';
const hvacModule = angular
    .module('hvacModule', ['maUiApp'])
    .component('hvacOverview', overview)
    .component('hvacMap', map)

    .factory('hvacUnit', unitService);

hvacModule.config([
    'maUiMenuProvider',
    (maUiMenuProvider) => {
        maUiMenuProvider.registerMenuItems([
            {
                name: 'ui.overview',
                url: '/overview',
                menuIcon: 'map',
                template: '<hvac-overview></hvac-overview>',
                menuText: 'Overview',
                weight: 100
            },
        ]);
    }
]);

return hvacModule;

}); // define
In the overview.js component, we are going to get the units and the data points related to these units so we can pass it to the map component.
overview.js
/**
 * @copyright 2020 {@link http://infiniteautomation.com|Infinite Automation Systems, Inc.} All rights reserved.
 * @author Luis Güette
 */
define(['angular', 'require'], (angular, require) => {
'use strict';
const POINT_KEYS = {
    'kW/ton': 'kwTon',
    'Occupancy': 'occupancy',
    'Power': 'power',
    'Status': 'status'
}

class OverviewController {
    static get $$ngIsClass() {
        return true;
    }

    static get $inject() {
        return ['hvacUnit', 'maPoint'];
    }

    constructor(Unit, Point) {
        this.Unit = Unit;
        this.Point = Point;

        this.units = [];
    }

    $onInit() {
        this.getUnits();
    }

    getUnits() {
        this.Unit.list().then(units => {
            this.units = units;
            this.getPoints();
        });
    }

    getPoints() {
        this.Point
            .buildQuery()
            .or()
            .match('deviceName', 'Unit*')
            .limit(1000)
            .query()
            .then(points => {
                this.units.map(unit => {
                    unit.points = this.mapPoints(points.filter(point => {
                        return point.deviceName === unit.name
                    }));

                    return unit;
                });
            });
    }

    mapPoints(points) {
        return points.reduce((result, point) => {
            const shortName = POINT_KEYS[point.name];
            if (Object.keys(POINT_KEYS).includes(point.name)) {
                result[shortName] = point;
            }
            return result;
        }, {});
    }
}

return {
    bindings: {},
    controller: OverviewController,
    templateUrl: require.toUrl('./overview.html')
};

});
- First, we inject
hvacUnit(the one that we created), andmaPoint(Mango service for managing data points) services. - In
$onInit()we call thegetUnits()method, which gets the units data from the JSON store, save it inthis.unitvariable and callgetPoints()method. getPoints()gets all the unit data points that we previously created and then maps them into each unit from thethis.unitsarray.
We can pass now this.units array to the map component to show this data in the map. First, we need to define a new binding for this variable in the map.js component:
map.js
...
return {
    bindings: {
        center: '<?',
        zoom: '<?',
        options: '<?',
        units: '<'
    },
    controller: MapController,
    templateUrl: require.toUrl('./map.html')
};
...
Then, we can update the map.html file to show the units in the map:
<ma-tile-map
        center="$ctrl.center"
        zoom="$ctrl.zoom"
        options="$ctrl.options"
        on-move="$ctrl.center = $center; $ctrl.zoom = $zoom"
>
    <div ng-repeat="unit in $ctrl.units track by unit.name">
        <ma-tile-map-marker
                coordinates="[unit.lat, unit.lon]"
                riseonhover="true"
                options="{riseOnHover: true}"
        >
            <div layout-margin>
                <div>
                    <div ng-bind="unit.name"></div>
                </div>
            </div>
        </ma-tile-map-marker>
    </div>
</ma-tile-map>
Finally, we pass the this.units variable to the hvac-map component in overview.html:
overview.html
...
<md-card-content>
    <hvac-map units="$ctrl.units"></hvac-map>
</md-card-content>
...
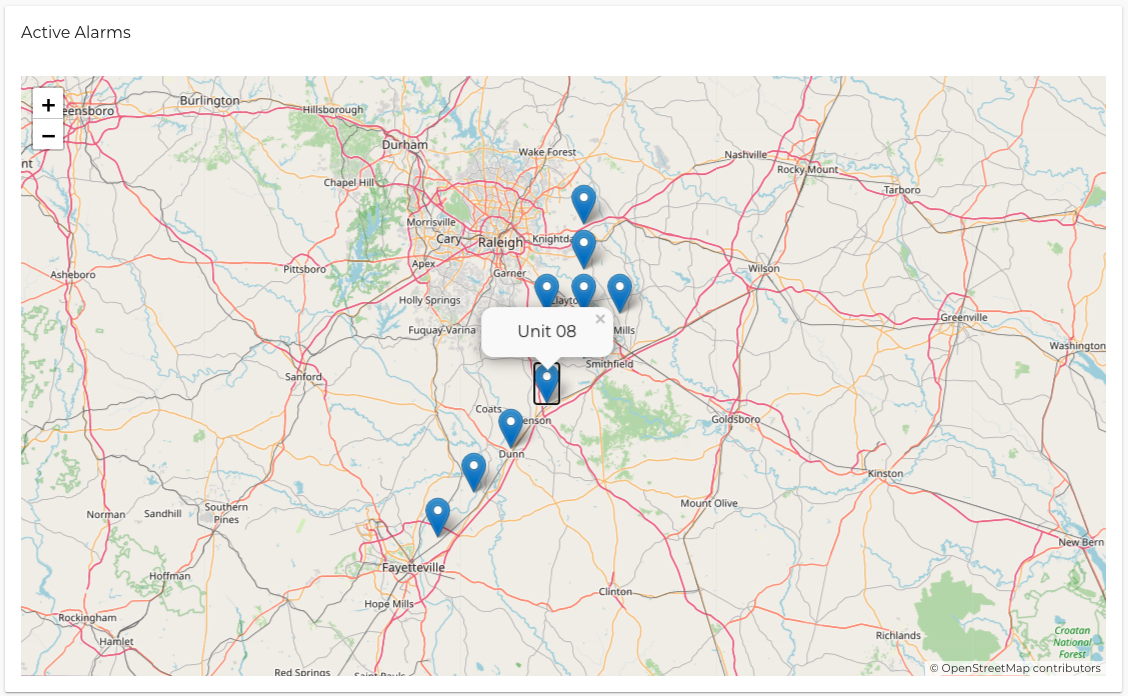
When you reload the overview page, you will see something like this:

Let's add the occupancy and status values to the popup window in the map component:
map.html
<ma-tile-map
center="$ctrl.center"
zoom="$ctrl.zoom"
options="$ctrl.options"
on-move="$ctrl.center = $center; $ctrl.zoom = $zoom"
>
<div ng-repeat="unit in $ctrl.units track by unit.name">
<ma-tile-map-marker
coordinates="[unit.lat, unit.lon]"
riseonhover="true"
options="{riseOnHover: true}"
>
<p class="title" ng-bind="unit.name"></p>
<div class="data-container">
<div>
<p>Occupancy</p>
<ma-point-value point="unit.points.occupancy"></ma-point-value>
</div>
<div>
<p>Status</p>
<ma-point-value point="unit.points.status"></ma-point-value>
</div>
</div>
</ma-tile-map-marker>
</div>
</ma-tile-map>
In hvac.css, we are going to add some styles, so the popup window looks better:
hvac.css
...
hvac-map ma-tile-map .leaflet-popup-content p {
    margin: 0;
    font-size: 1.125rem;
    font-weight: 700;
}
hvac-map ma-tile-map .title {
font-size: 1.25rem !important;
text-transform: uppercase;
}
hvac-map ma-tile-map ma-tile-map-marker .data-container {
display: flex;
margin-left: -0.75rem;
margin-right: -0.75rem;
text-transform: uppercase;
}
hvac-map ma-tile-map ma-tile-map-marker .data-container div {
width: 50%;
padding: 0.75rem;
}
hvac-map ma-tile-map ma-tile-map-marker .data-container ma-point-value {
width: 50%;
font-size: 1.375rem;
}
...
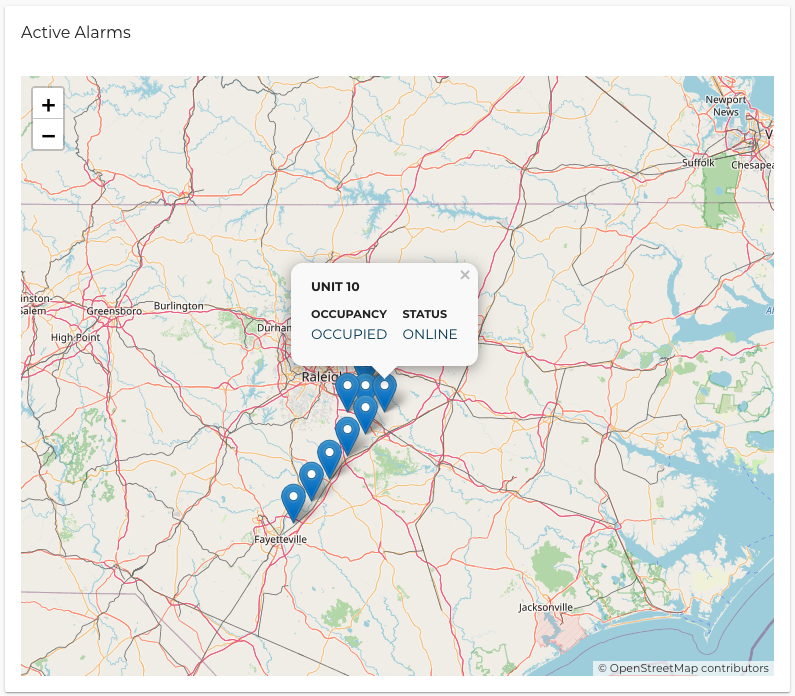
You will see something like this:

Now, we are going to update the marker icon and add the theme colors. You can download the svg icons from here:
Let's add these icons to an img directory, and in the map.html update the code like this:
<ma-tile-map
center="$ctrl.center"
zoom="$ctrl.zoom"
options="$ctrl.options"
on-move="$ctrl.center = $center; $ctrl.zoom = $zoom"
>
<div ng-init="$ctrl.onlineUnitIcon = $leaflet.icon({iconUrl: '/rest/v2/file-stores/public/hvacDashboards/img/online-unit.svg', iconSize: [32,32]})"></div>
<div ng-init="$ctrl.offlineUnitIcon = $leaflet.icon({iconUrl: '/rest/v2/file-stores/public/hvacDashboards/img/offline-unit.svg', iconSize: [32,32]})"></div>
<div ng-repeat="unit in $ctrl.units track by unit.name">
<ma-tile-map-marker
coordinates="[unit.lat, unit.lon]"
riseonhover="true"
options="{riseOnHover: true}"
icon="unit.points.status.value ? $ctrl.onlineUnitIcon : $ctrl.offlineUnitIcon"
>
<p class="title" md-colors="{color: 'primary-700'}" ng-bind="unit.name"></p>
<div class="data-container">
<div>
<p md-colors="{color: 'accent'}">Occupancy</p>
<ma-point-value point="unit.points.occupancy"></ma-point-value>
</div>
<div>
<p md-colors="{color: 'accent'}">Status</p>
<ma-point-value point="unit.points.status"></ma-point-value>
</div>
</div>
</ma-tile-map-marker>
</div>
</ma-tile-map>
- The icons will change depending on the unit status.
- With
md-colorsdirective, we define the text colors to match the design, based on the theme that we previously defined in the UI settings.
And the last thing, let's update the style of the card's title to match our design. In overview.html update the code like this:
overview.html
<div layout="row" layout-wrap layout-align="space-between start">
<div flex="100" flex-gt-sm="50" flex-gt-md="60">
<md-card>
<md-card-header>
<p md-colors="::{color: 'accent'}">Active Alarms</p>
</md-card-header>
<md-card-content>
<hvac-map units="$ctrl.units"></hvac-map>
</md-card-content>
</md-card>
</div>
<div flex="100" flex-gt-sm="50" flex-gt-md="40">
<p>Column 2</p>
</div>
</div>
In the hvac.css let's add the next code:
...
hvac-overview md-card-header {
    padding-bottom: 0;
}
hvac-overview md-card-header p {
margin: 0;
font-weight: 700;
text-transform: uppercase
}
...
At the end, you should see something like this:
